|
|

|
|
Peel and Stick Main Page
PEEL AND STICK ESD VINYL TILES
Installation & Maintenance
|
Note: All ESD tiles must be shipped, RECEIVED and stored FLAT to avoid damaging the tiles. |
![]() For
Covering a Steel Subfloor:
Remove rust and contaminants
that may interfere with the adhesive, layout area, remove
adhesive liner from the tiles and press them firmly in
place. For optimum bond roll the area with a 100 pound vinyl
roller.
Download the full installation
instructions for application over steel.
For
Covering a Steel Subfloor:
Remove rust and contaminants
that may interfere with the adhesive, layout area, remove
adhesive liner from the tiles and press them firmly in
place. For optimum bond roll the area with a 100 pound vinyl
roller.
Download the full installation
instructions for application over steel.
![]() For
use as mats over ESD carpet:
Remove contaminants that may interfere with the bonding of
the adhesive by vacuuming the carpet. Lay out the area.
Remove the entire liner from the peel and stick tile for
optimum longevity. Remove a 2" wide section around the
perimeter of the tile if a temporary installation is
required. Press the tiles firmly in place.
For
use as mats over ESD carpet:
Remove contaminants that may interfere with the bonding of
the adhesive by vacuuming the carpet. Lay out the area.
Remove the entire liner from the peel and stick tile for
optimum longevity. Remove a 2" wide section around the
perimeter of the tile if a temporary installation is
required. Press the tiles firmly in place.
![]() For
use in covering hard surface floors including concrete, epoxy: Clean the subfloor to remove contaminants
that may interfere with the bonding of the peel and stick
adhesives. Apply this
easy to install ground grid for optimum electrical conductivity.
For
use in covering hard surface floors including concrete, epoxy: Clean the subfloor to remove contaminants
that may interfere with the bonding of the peel and stick
adhesives. Apply this
easy to install ground grid for optimum electrical conductivity.
Note: When placing your order for copper foil calculate at least 4 linear feet of tape for each tile.
Note: The following photos are not to size. This is a representative model. Click Icons for larger photos.
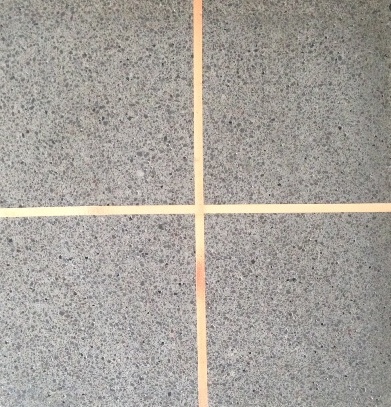 Divide
the area in two. Snap a chalk line or mark a line with a pencil in the middle of the
area or room. Divide the
area in two the other direction and mark another line (in
the middle). Apply the 1/2 inch wide copper tape directly
adjacent to the chalk lines. Your substrate will have a copper cross in the
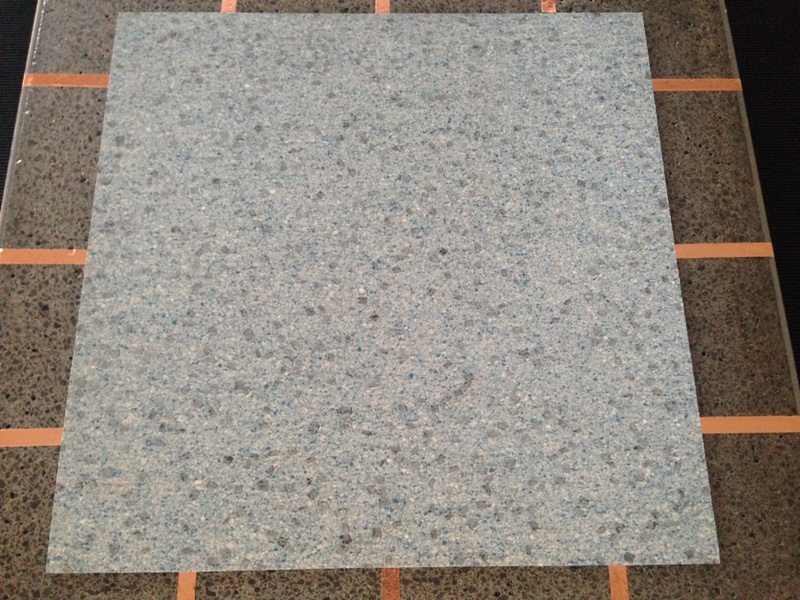
middle of the area. Each peel and stick tile has a 4" x 4" aluminum ground pad
located in the center of the tile so if your grid is off a little don't
worry! It will contact the tiles just fine!
Divide
the area in two. Snap a chalk line or mark a line with a pencil in the middle of the
area or room. Divide the
area in two the other direction and mark another line (in
the middle). Apply the 1/2 inch wide copper tape directly
adjacent to the chalk lines. Your substrate will have a copper cross in the
middle of the area. Each peel and stick tile has a 4" x 4" aluminum ground pad
located in the center of the tile so if your grid is off a little don't
worry! It will contact the tiles just fine!
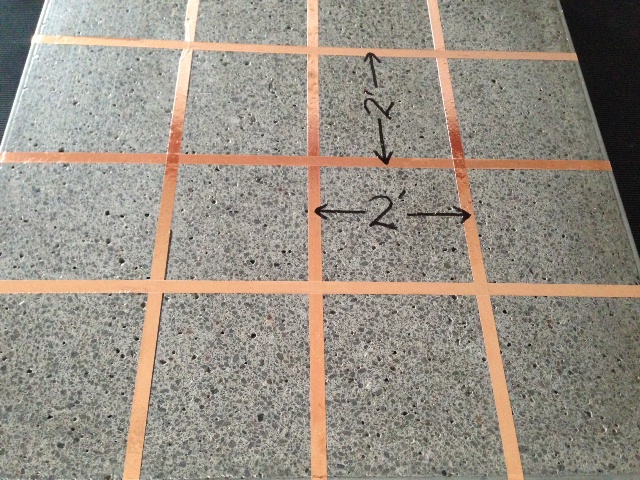 Install
another run of copper tape 2' from the previous runs. You have now
effectively covered the substrate with a 2' x 2' ground grid. For
optimum ground grid conductivity center punch the overlapping copper
foil.
Install
another run of copper tape 2' from the previous runs. You have now
effectively covered the substrate with a 2' x 2' ground grid. For
optimum ground grid conductivity center punch the overlapping copper
foil.
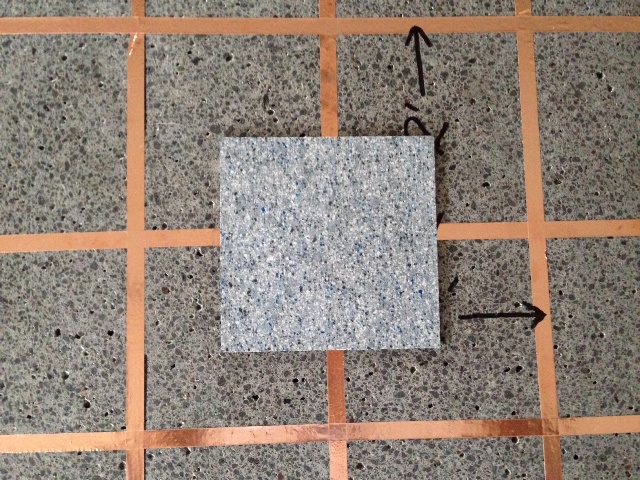 Peel
the adhesive liner cover from the back of your 2' x 2' tile
and install this tile in the middle of the area or room so it is straight
with the layout. The center of these tiles have an aluminum pad that
will make contact with the 1/2" wide copper ground grid tape. Insure the
tiles are straight with the chalk lines or pencil marks.
Peel
the adhesive liner cover from the back of your 2' x 2' tile
and install this tile in the middle of the area or room so it is straight
with the layout. The center of these tiles have an aluminum pad that
will make contact with the 1/2" wide copper ground grid tape. Insure the
tiles are straight with the chalk lines or pencil marks.
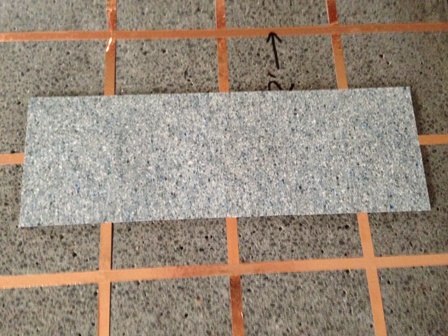
Install new tiles in line with center tile.
Complete your area to the desired size. For the best esthetics roll the area with a 100 pound vinyl roller.

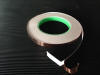
To electrically ground the structure install one of our "plug and play" peel and stick ground tiles (ordered separately) at a location that is close to an AC electrical outlet. Plug this tile into the wall outlet. For alternate methods of grounding the peel and stick esd flooring structures please click here.
Maintenance: Remove abrasives by dry dust mopping or vacuuming on a daily basis. Lightly damp mop as needed with a dilute solution of ElectraClean and water. Should a high gloss be required this product may be coated with 2 thin coats of ElectraGlaze ESD floor finish and spray buffed to a diamond like shine using ElectraShine. Two thin coats will not significantly alter the products outstanding electrical properties.
Associated Products:
©
United SCP -
All rights Reserved
*