.
|
|

Telephone:
719 676 3928
UnitedSCP.com
Technical document: 2016.09A
|
Concrete Repair Prior to Installation
of ElectraGuard ESD Epoxy Floor Paint.
Halliburton Sophisticated
Energetics Labs
Click for more project photos
Minor deviations
in concrete such as expansion joints, saw cuts, pinholes,
gouges, dings, divots etc. may
be filled prior to the installation of an esd floor
covering material. The following method is used successfully to
create a smoother profile. A seam free floor with a smooth profile is much easier to
keep clean, provides the ultimate in esthetics and provides
excellent stability with rolling loads (such as carts and
trolleys). This process may be used for esd tiles and sheet
vinyl and is extremely popular with the installation of
ElectraGuard esd epoxy floor paint.
Update 05/10/17 for California - Mapei PlaniPatch (the material used in the following process) is
virtually impossible to find
in California. Alternative materials such as Ardex and
Henries may also be used. Keep in mind all of these are Portland
Based patching compounds that will feather edge. Avoid Gypsum
based underlayments as many do not have the compressive strength
nor inter particle cohesion to provide long term performance.
Note:
If the expansion joints move the following method may crack over
time. As such many clients are successfully using SikaFlex Pro
self leveler to fill the joints. Proper preparation is
important. Follow the manufacturers directions for use.
BASIC PROCESS USING PORTLAND BASED
PATCHING COMPOUND
|
1) Remove loose and broken
concrete
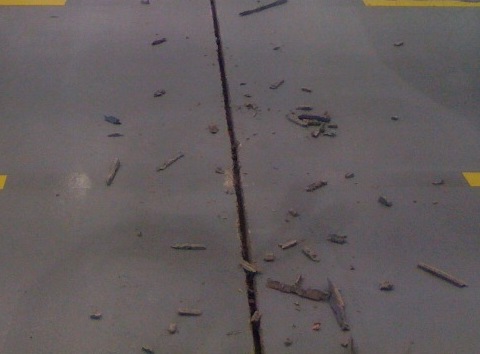
Remove dust and debris.
Vacuum, Sweep, Vacuum
Use oil free sweeping compounds if needed.
|
|
2) Apply
Mapei Plani-Patch
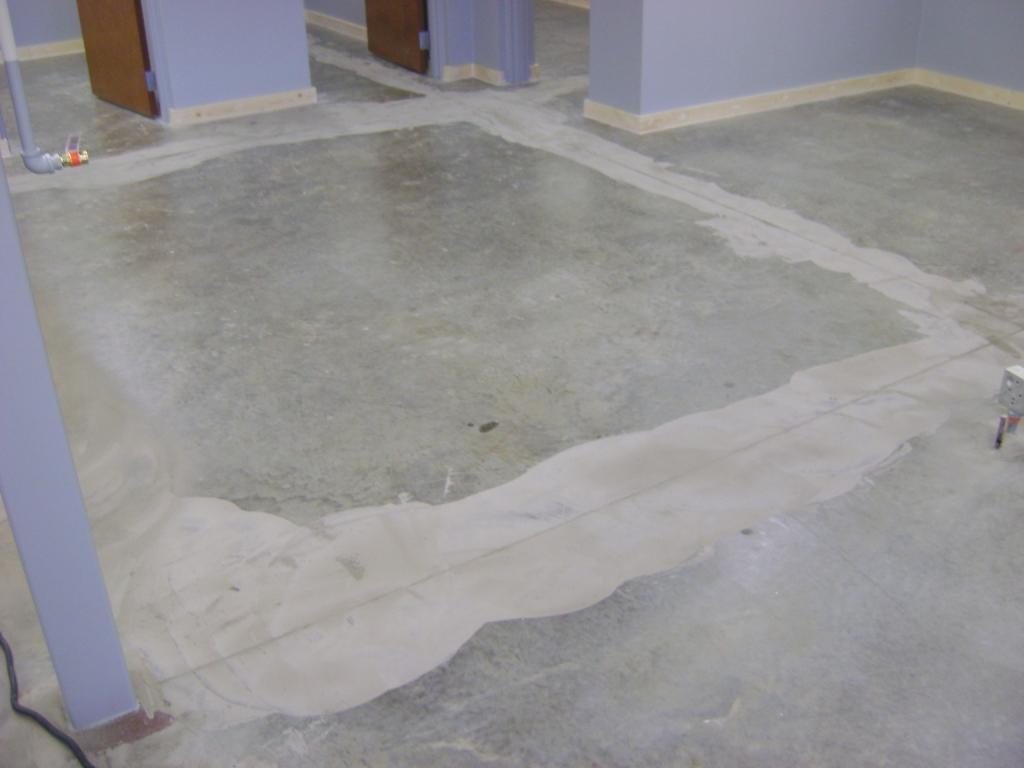
Mix
small quantities of Mapei with water to the consistency of
pancake batter using a rotary mixer. Add a small amount of latex
for smoother troweling. Trowel using concrete finishing trowel.
Allow to dry completely before proceeding.
Large Photo
|
|
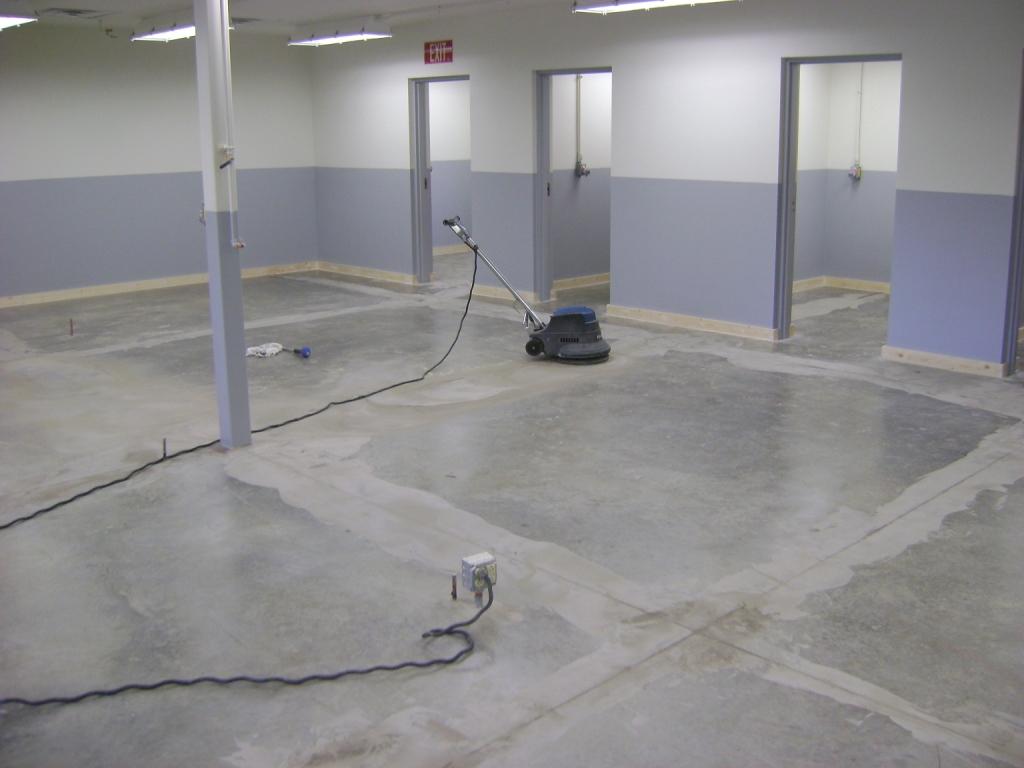
3) Lightly Sand Profile
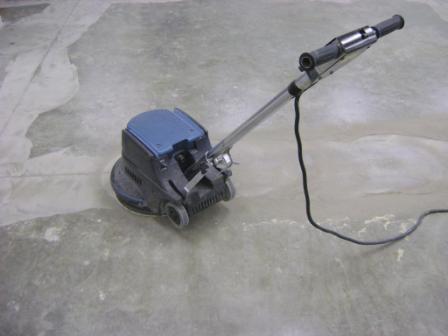 Typically
use a coarse sanding disk or open screen disk. Reapply Mapei in
low spots if needed. Lightly re sand. Sweep and vacuum
thoroughly.
Use oil free sweeping compounds if needed. No dust should show
on your palm when you run it across the concrete. Feel the
substrate, if smooth proceed to the next step.
Large Photo Full Area Typically
use a coarse sanding disk or open screen disk. Reapply Mapei in
low spots if needed. Lightly re sand. Sweep and vacuum
thoroughly.
Use oil free sweeping compounds if needed. No dust should show
on your palm when you run it across the concrete. Feel the
substrate, if smooth proceed to the next step.
Large Photo Full Area
|
|
4) Apply One Coat of ElectraGuard ESD Epoxy Floor Paint. Follow
our directions!
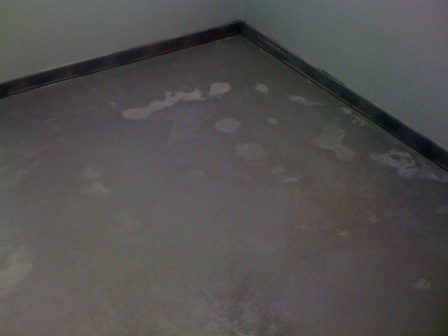 Allow
to cure for 24 hours. Expect the coating to not look acceptable
for a finished product. Areas of concrete repair will shadow
thru the coating. Lightly sand (do not sand thru coating).
Thoroughly sweep and vacuum.
Use oil free sweeping compounds if needed. Allow
to cure for 24 hours. Expect the coating to not look acceptable
for a finished product. Areas of concrete repair will shadow
thru the coating. Lightly sand (do not sand thru coating).
Thoroughly sweep and vacuum.
Use oil free sweeping compounds if needed.
|
|
5) Apply One Coat of ElectraBond to Sanded and Cleaned
ElectraGuard
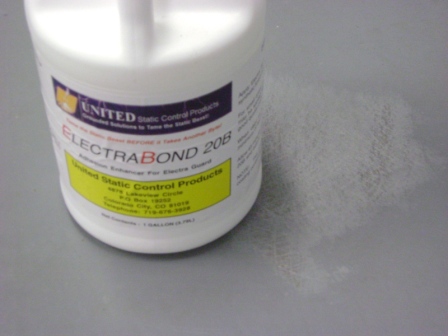
Apply 1 thin coat of ElectraBond
(pdf download) using a clean, new, rayon
finish mop or wax applicator. Allow to dry for at least 2 to 4
hours. Expect shadow thru from concrete repair to still show
thru coating.
|
|
6) Apply one or two coats of ElectraGuard and Seal
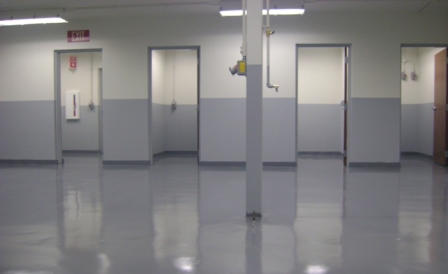
Click for more project photos
Home
|
Contact United
Static Control Products!
Tame the Static Beast Before
it Takes another Byte!
© All rights Reserved
*
| 